

Here in the mountains of northern Idaho, we often get a “false spring.” The sun is shining and melting the snow. Birds and insects start emerging and fill the woods with beautiful song. This “season” normally lasts for 2-3 weeks where it is immediately followed with a deluge of snow and temperatures that plunge well below freezing.
I find that false spring is the perfect time to start my seedlings! Many plants like peppers, tomatoes, celosia, and snapdragons, do best with a lengthy growing season. Since our summers can be fairly short, a great workaround is to start these seeds indoors.
Seedling trays, however, can be rather expensive. A great craft project for the frugal or crafty gardener is to make your own! They are super easy to make, fully compostable, and take maybe 10 minutes to craft.
How to Make Compostable Seedling Trays
Supplies:
Egg Cartons
Drip tray
Scissor
Dirt
Seeds
First, you will need some egg cartons and a drip tray. The drip tray will catch the excess water that may run through the soil and hold it like a reservoir. This lets thirsty baby seedlings and dirt wick the moisture back up later. I save my drip tray each year so I can reuse it again and again. A drip tray costs $2-$3 at a hardware store, nursery, or feed store.

Step 1 - Cut the lids and latches off of the egg cartons. The latches and lids can be recycled, saved for tinder, or composted.

Step 2 - Cut the egg cartons to fit the drip tray. Feel free to get creative and fill every little nook and cranny! This is the brand new seedling tray.


Step 3 - Check the dirt, wet if necessary. I bought my dirt as the local Dollar Tree. It was good quality organic soil by the brand “Organic Harvest” and cost me $1.25 per bag. Fully filling a seedling tray took 1 bag. Bagged soil carried by stores may be rather dry if it has been sitting for a while in a low moisture climate. This bag had a fair bit of peat moss in it and so was incredibly dry! I poured it into a glass mixing bowl and soaked it with water. Let the dirt sit and soak. Stir to speed up the rehydration process.


Step 4 - Spoon clumps of moist soil into the egg cartons. I use an actual spoon but any scoop-like tool will work. I’ve used just my hands before!


Step 5 - Add seeds! This is my favorite part of the process. Some seeds can be rather fiddly. One trick to help with these tiny seeds, when only a few are needed per cell (the individual dirt filled egg slot is a “cell”), is to wet a toothpick. Place the tip of the wet toothpick on the seed in question and it will cling to the toothpick. Then simply pierce the dirt with the loaded toothpick to the desired depth. The seed will get lodged in the soil when you remove the toothpick.
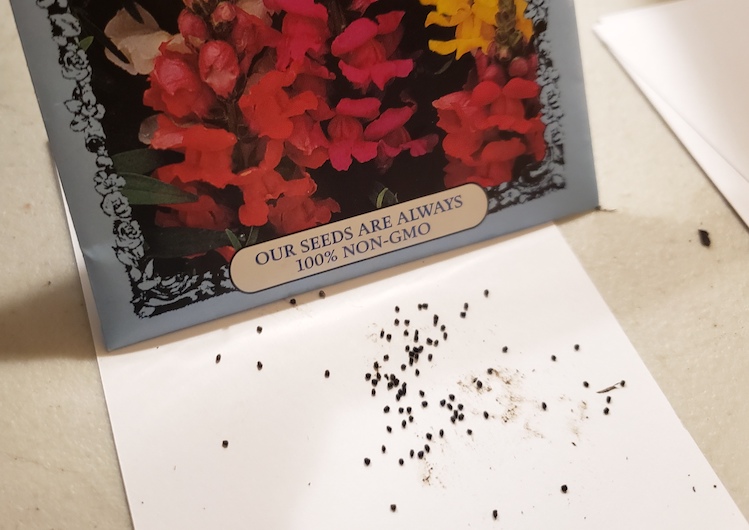

Be sure and read the seed packets for information on the preferred depth to plant the seeds as well as when to start them indoors. Seed packets will often state a desired timeline. For instance a packet of tomato seeds might say, “start indoors 6-8 weeks before last frost.” The Farmer’s Almanac website has a wonderful Frost Date and Growing Season tool to find your personal last frost dates (https://www.almanac.com/gardening/frostdates).
Step 6 - Flag the seeds. It is always good to identify seedling trays in some fashion. I make my flags out of index cards, tape, and a pen. Popsicle sticks are another great option. If the entire tray is going to be one type of plant you can also just write on the tray itself with a permanent marker.


Step 7 - Enjoy the baby seedlings!
May your garden be full of life and bounty this year! No matter if it is a tiny pot in the windowsill or a sprawling farm, take joy in knowing that you helped bring a plant to life.
No comments:
Post a Comment